A washing machine is heavy, awkward, and full of water even when the drum looks empty. Moving it safely means preparing the machine before moving day, protecting the route, keeping the appliance upright when possible, and testing for leaks before pushing it fully into place.
This guide covers a typical household washing machine. Read the owner’s manual first. If the appliance is connected to gas, built into a tight cabinet, damaged, or too heavy for the available helpers and equipment, hire a qualified appliance technician or moving crew.
Tools and supplies
Gather an appliance dolly or suitable hand truck, two or more strong helpers, appliance straps, moving blankets, cardboard or floor-protection sheets, a shallow tray, towels, adjustable pliers, a bucket, tape, a level, and the manufacturer’s shipping bolts if you still have them. Measure the machine, doorways, landings, stair turns, and the truck opening before moving anything.
The Home Depot washing-machine guide recommends preparing the route, protecting floors, measuring tight spaces, enlisting help, and using the right moving equipment. Those are risk controls, not cosmetic extras.
Step 1: Empty, clean, and dry the machine
Remove clothing, detergent, dispensers, and any loose items. Run the cleaning cycle or a short rinse if the manual permits, then leave the door open so the drum and gasket can dry. A machine that has been used recently may hold water in the pump, drain hose, dispenser, or filter.
Do not assume that pressing the drain button removes every drop. Have towels and a tray ready before disconnecting hoses.
Step 2: Shut off power and water
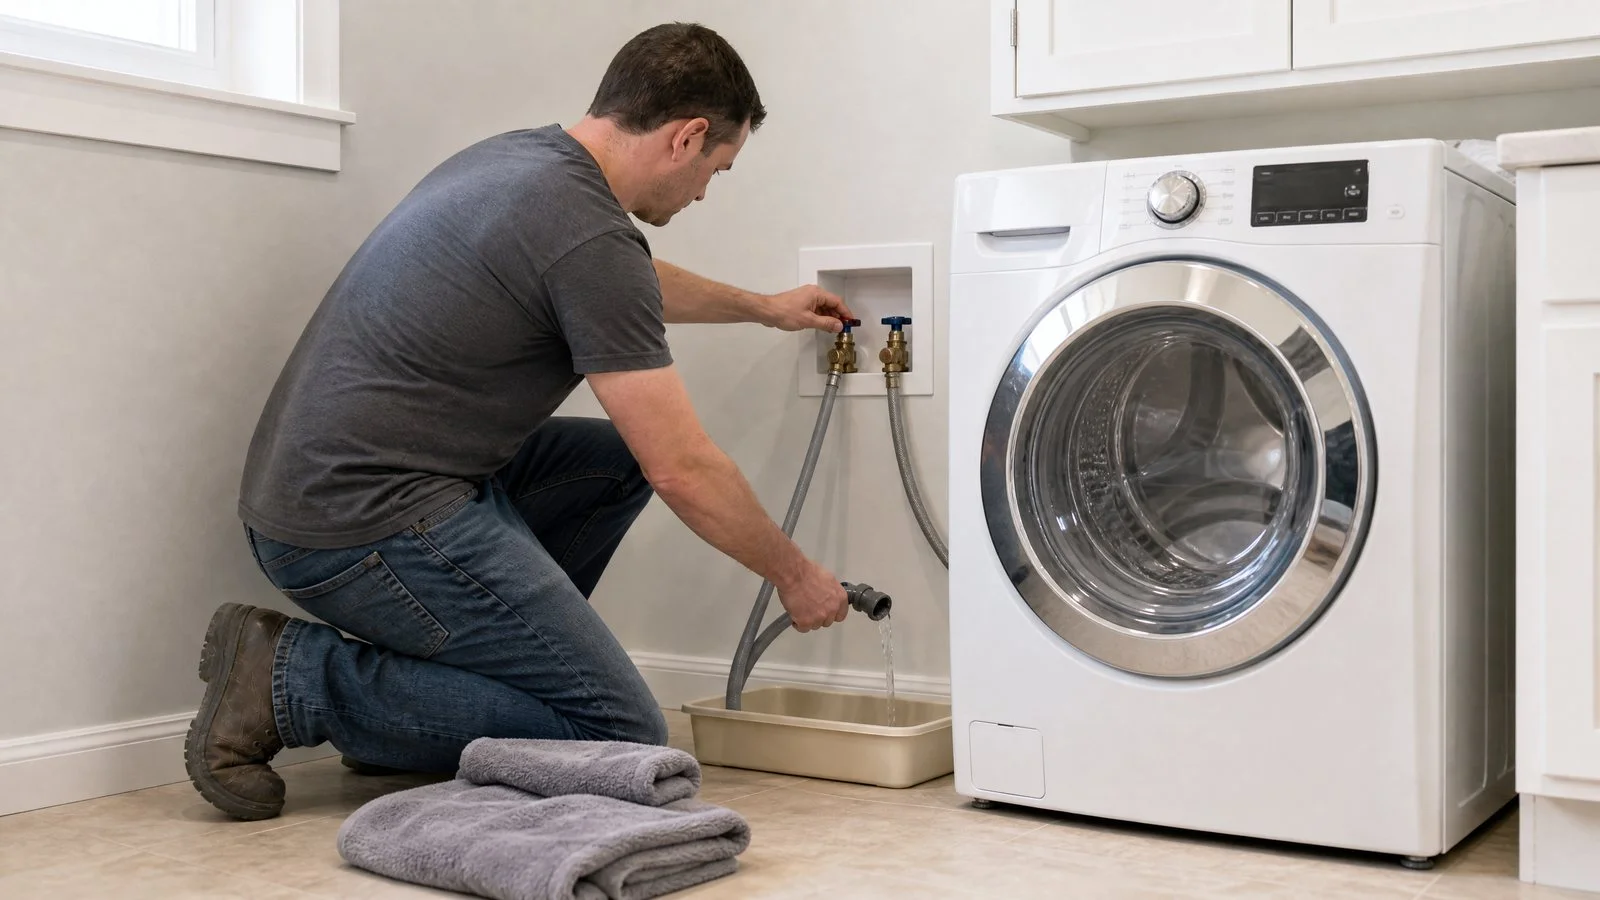
Unplug the machine. Close both water-supply valves and place the tray beneath the hose connections. Loosen the hoses slowly, direct the remaining water into the tray, and cap or bag the hose ends so they do not drip into boxes. Disconnect the drain hose from its standpipe or drain connection and let it empty fully.
If the shutoff valve will not close, leaks at the connection, or the machine is hard-wired, stop and call a qualified professional. Do not improvise with a live electrical connection or a valve that is already failing.
Step 3: Secure the drum according to the manual
Front-loading machines often have transit bolts or a manufacturer-specific method for stabilizing the drum. Reinstall the original bolts if the manual says to do so and you still have them. Do not insert random screws or timber through the cabinet. For a top-loader, follow the manual’s instructions for securing the lid, agitator, or internal parts.
Wrap hoses, the power cord, dispensers, and small hardware in a labeled bag. Photograph the connections before removing them. This takes less than a minute and can prevent confusion at the new home.
Step 4: Protect the route and load the dolly
Sweep the route, remove rugs and clutter, and cover floors with cardboard, moving blankets, or protective sheets. Use a dolly rated for the machine’s weight. With helpers stabilizing the appliance, tilt it only as much as necessary to slide the dolly underneath. Strap the machine tightly enough to prevent shifting without crushing the cabinet or door.
Keep the appliance upright during movement whenever possible. Do not carry it by the door, controls, hoses, or detergent drawer. On stairs and tight turns, pause and reset your grip rather than twisting while the machine is suspended.

Step 5: Position it without trapping the hoses
Set the machine close to its final location but leave enough space to connect the water hoses and drain line. Check that the floor is solid and that the appliance will not rest on a sharp edge, loose tile, or folded protective sheet.
Connect the hoses according to the manual, keep hot and cold lines in the correct positions, and make sure the drain hose is secured at the proper height. Avoid sharp bends and do not force a fitting that does not match.
Step 6: Level and test before finishing the installation
Use a level across the top and adjust the feet according to the manual. Press the corners gently. The appliance should not rock. Run a short rinse or fill-and-drain test while watching every connection, the drain hose, the door gasket, and the floor beneath the machine.
Do not push the washer fully against the wall until the test is complete. If you see a drip, stop the cycle, unplug the appliance if water is near the electrical connection, close the supply valves, and correct the connection or call a professional.
Common mistakes to avoid
| Mistake | Why it causes trouble | Better practice |
|---|---|---|
| Moving a full or recently used machine | Water can spill into the cabinet, truck, or floor. | Drain, dry, and keep towels and a tray available. |
| Using the door as a handhold | The door, hinge, or seal can be damaged. | Use the dolly and straps on the cabinet. |
| Skipping transit-bolt instructions | The drum can move excessively during transport. | Follow the exact manual for drum stabilization. |
| Testing after pushing it tight to the wall | A leak can go unnoticed and be difficult to reach. | Test with access to all connections first. |
| Moving alone on stairs | Loss of control can injure people and damage the appliance. | Use sufficient help and rated equipment, or hire movers. |
When to hire help
Hire a professional when the route includes difficult stairs, the machine cannot be kept stable, the appliance is unusually heavy, the water or electrical connection is damaged, or you are working around gas equipment. The manufacturer guidance linked above advises professional appliance help for gas-line disconnection and reconnection. A careful decision not to move the machine yourself is part of a successful move.
Before the moving truck leaves, take a final photo of the machine, hoses, transit bolts, and the installation area. At the new home, keep the receipt for any technician work and monitor the first full wash for vibration or leaks.
Further reading
For planning, see CityMoveGuide’s photo-based moving inventory guide and week-before moving preparation guide. The external Home Depot washing-machine reference explains the broader preparation and handling principles.